With the complexity and sophistication of embedded systems today, a necessary component is a user interface that is more than an indicator LED. Today it is expected that the user will be updated with relevant and timely information in an aesthetically pleasing manner. While I have yet to meet an embedded developer who enjoys GUI design and programing there are some easy and some not so easy methods to accomplish this.
Just recently I was placed with the task of creating a controller with a touch display. The development software has over 1000 pages of “help files” and little to no worked demos. The first task was to try to use buttons to increase and decrease a displayed number and then load that to the control unit. After a large undisclosed number of hours neither have yet to be successfully accomplished. The support consisted of being sent completed projects to examine and run in simulation, sadly this did not help.
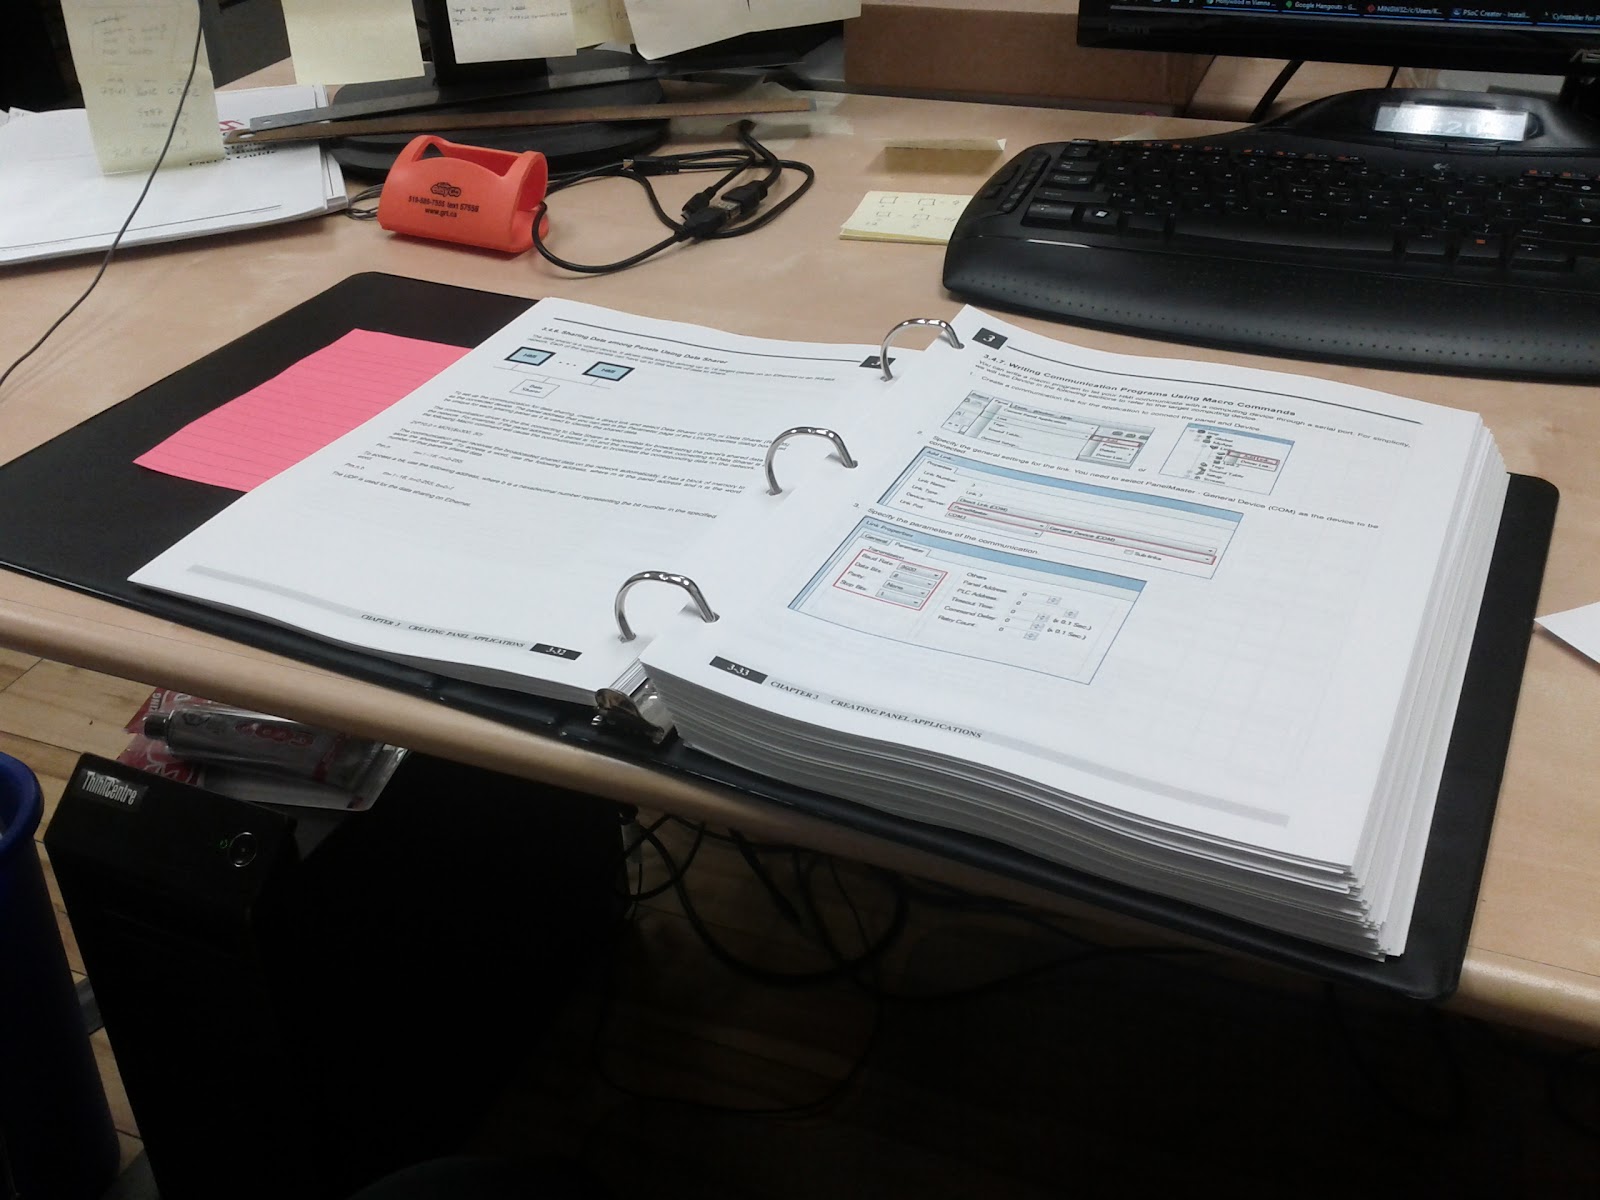
Support documentation for a Control Display
Interestingly towards the end of my time evaluating this unit I was asked by ITead Studio if I could review their Nextion display. After reading all the demos and working through them (~20 pages plus ~20 pages for the Nextion instruction set), which are easy and intuitive, I thought I’d give my task a try. Yes there is a demo that is very similar, but with in 10 minutes I had the demo running on the Nextion. I will say the demo may not have looked all that pretty but with another 20 - 30 minutes that could have been rectified.

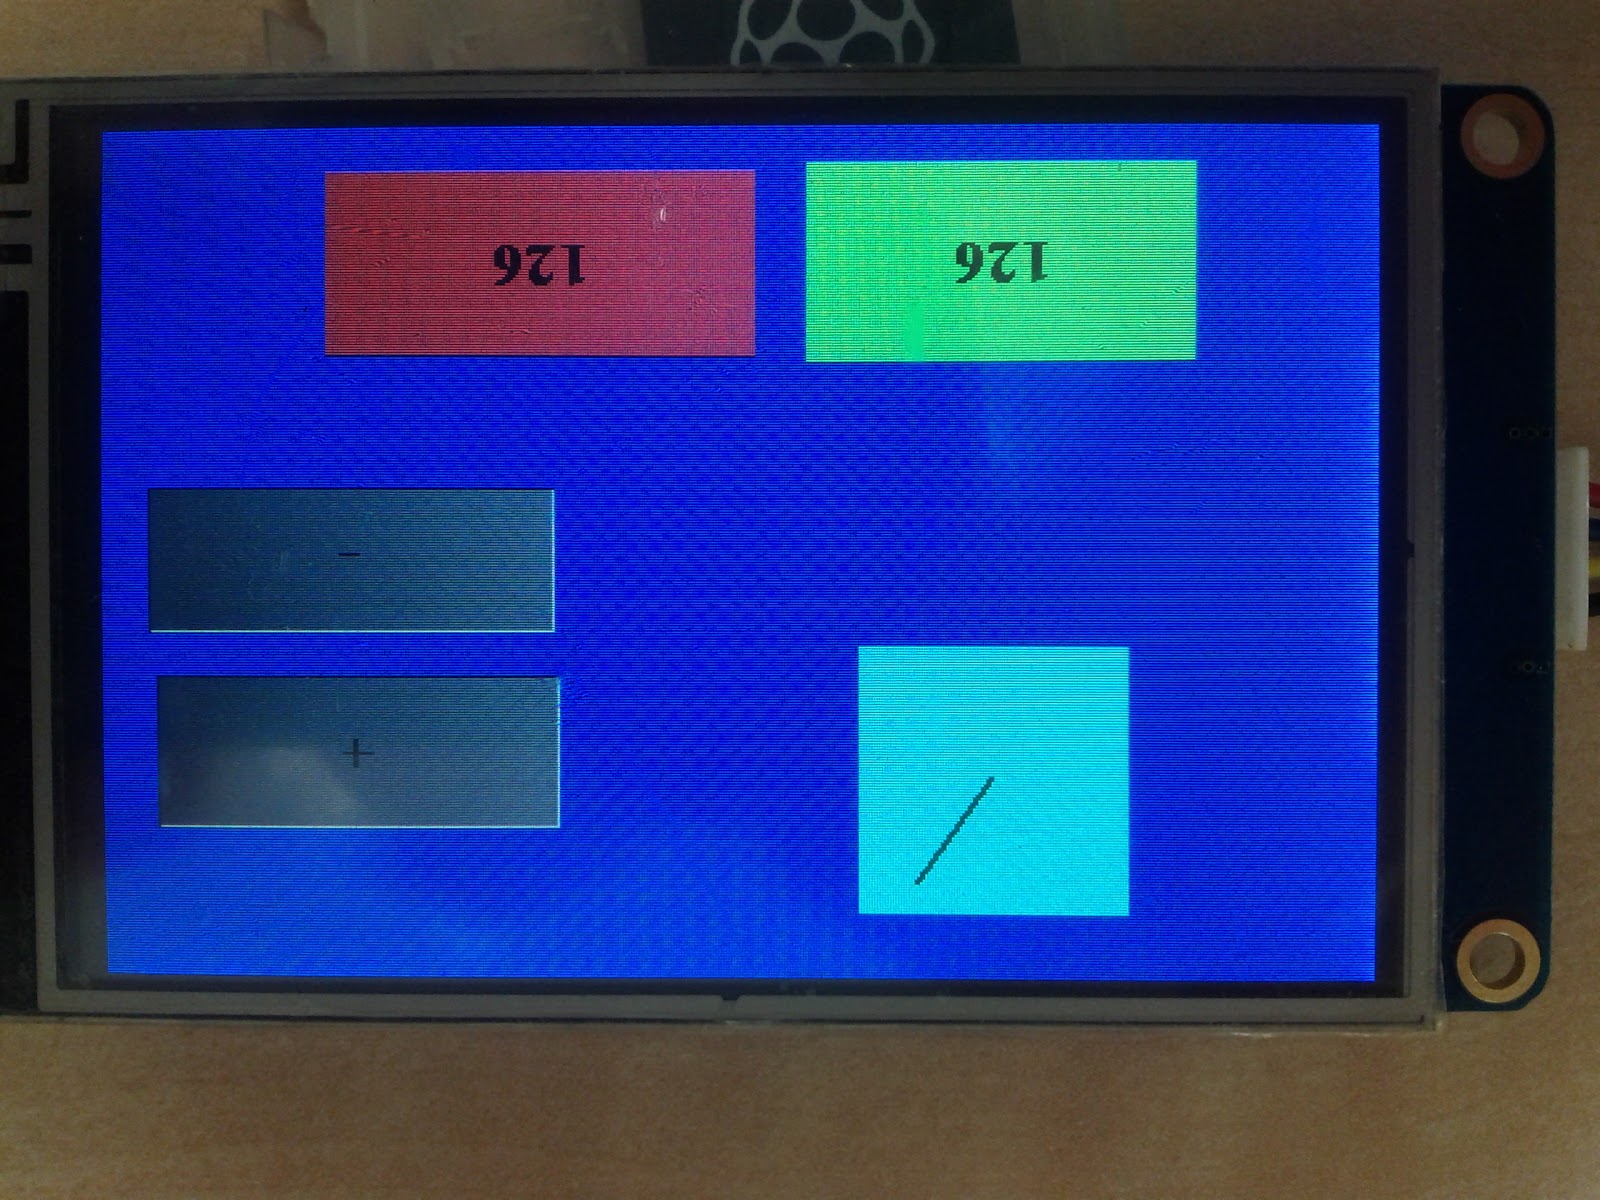
Demo increasing both numbers and text values with input buttons
Out of the Box
The displays ship in a neatly packed box that fits the displays quite snuggly. The kit includes the display (3.5” in this case) and a power connector. The connector allows the display to be easily powered from any USB power source.


Nextion package and the contents. Screen, wire harness, and USB power connecor
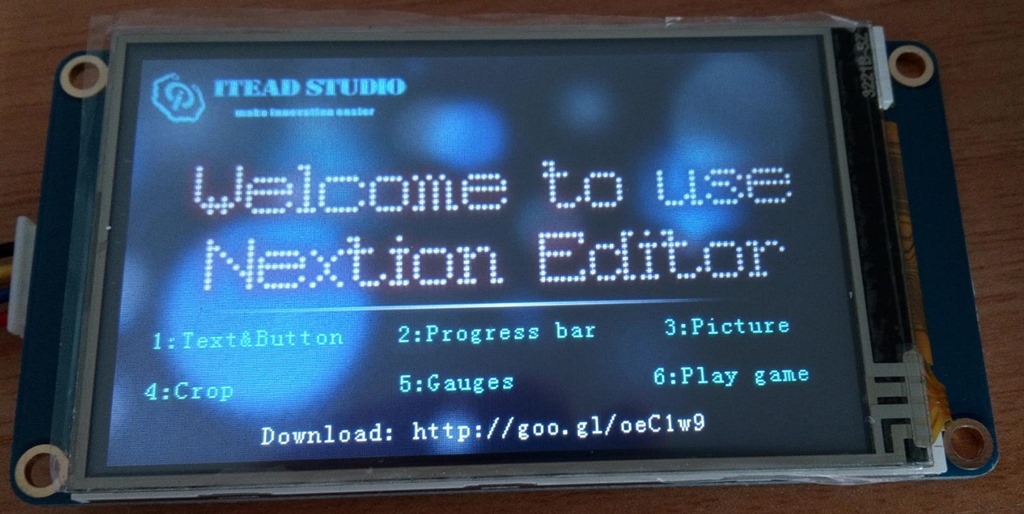
When the unit is powered up for the first time there is a clean and neat welcome screen that displays the ITead name and logo as well as 6 demos. Going through the demos is not too impressive as they show the functions available in a very simplified form, that is except for the last one. The last demo allows an evaluator to see that the display is not merely a touch screen but can also run intelligent code.
The demo is to find 5 differences between the two pictures and shows three hearts as a player's lives, when a wrong area is selected these hearts go dark one at a time. While this may seem trivial, it clearly shows that the display has some computational abilities.
The User Interface
The GUI design and layout is done in a development environment (IDE) provided by ITead Studio. The Nextion IDE downloads with no issues from ITead Studio’s Nextion portal and is simple to install. Once installed opening the IDE presents the user with a clean and well organized user interface. The IDE is organized into 8 sections as shown in the image below, each section has a unique task to perform or information to convey.

Nextion IDE to design and program the user interface
The 8 sections functions are as such.
1) Menus including save, open, etc. are found here.
2) Image library, images used on the Nextion display need to be uploaded before hand. In order to do this all images first need to be imported to the IDE, the IDE then gives each image a unique number by which that image is referenced. It is then from this section that images and backgrounds can be selected and positioned in your GUI.
3) Font library, text entered in the GUI needs to be setup to be correctly displayed on the display. To do this fonts are created in specific sizes and styles and then configured for the specific display. After completing the configuration the font can be added to the font list.
4) Working area, this is where the graphical display is designed and shown. It is in this area a scale representation of the display is shown as a canvas on which to work. All desired components are added and arranged with in this area to represent how the final display should look.
5) Page area, display screens are called pages. New pages are added and named here. It is with the names listed in this panel that different screens are selected by either internally written code or by a connected microcontroller.
6) Attributes, component attributes such as, display text, value, color, background, are set in this window.
7) Compiler Output Window: if errors occur, they will be shown in this area.
8) Event area, code to control how the display behaves is added here allowing for simple display control to be achieved without the need of an external microcontroller.
Getting Started
ITead Studio have wisely provided a number of demos with explanations to get any user up and running in a short period of time. The user guide lists 7 examples that start with simple text and button components and ends with simulating a slide unlock and a battery charging symbol.
In each example the components used are well explained. The demos follow a simple and easy progression making them easy to follow and understand. The demos can easily be completed in a few minutes including understanding what each demo is trying to convey. One difficulty is some of the english. Because the sentence structure does not always flow as it should, one may need to take a second glance, but the intent is clearly understood. One other issue is the difficulty in finding the resources used in the demos. Pictures and fonts listed are not easily available. The only remedy for this is to download the completed demo, then remove all components and images from the working area. While this works to complete the demo it lacks the hands on feel for setting up the fonts and importing needed images.
Programing (Internal Code vs MCU Controlled)
Once all the demos have been completed the next step is creating your own GUIs. These GUIs can be self contained or they can interact with a connected MCU. The demo mentioned at the beginning of this blog is a self contained program. The demo was put together to explain what an easy to use display is. In that demo there was 6 lines of code. Four of the lines were the same and the other two only differed by a sign.
The first line is “page0.z0.val=page0.z0.val+1”. Page0 refers to the screen number the component is part of. z0 is the name of the component, in this example instead of using a variable a gauge was used to keep the demo simple. val is the value of the specific component, in this case the gauge counts between 0 and 360, if a variable was used this could be set to have different limits. By adding this one line of code the value of the gauge is incremented by clicking on a button without the need for a microcontroller.
The second line is “n0.val=z0.val”. This time the page was omitted to demonstrate that when referencing the same page, the page identifier can be omitted. This simple line updates the number displayed in the number displayed on the screen.
The last line of code is “cov z0.val, t0.txt, 0”. This takes in a value “z0.val” and converts it to a second type (string in this case) and sends it to the required parameter, “t0.txt”. This takes the value from the gauge and displays it in a text box.
The beauty about this is the same code can be easily switched to run on a microcontroller of your choosing. By attaching the UART lines to your microcontroller the same commands can be sent to the display to achieve the same results. The Nexion sends hex commands to the microcontroller in a very predictable and easy to parse format. While a conversion from hex to the desired result (integer, text, etc) is required this would not be too complicated for most programmers.
Arduino Library
On the topic of parsing and programing a parser, this is not necessary if an arduino or arduino like device is being used (eg. Energia). This is because ITead Studio has taken the time to write a comprehensive Arduino library for the Nextion. This allows new makers as well as those trying to get a quick project out the door to complete their project that much faster.
Uploading Program to Nextion
One of the really nice features about the Nextion is the ease with which a new program can be installed. Open the IDE and click on File > Open Build Folder and select the .tft you would like to run on the display. Once this file has been copied to the microSD of your choice, insert the microSD into the Nextion’s microSD card slot and power on the Nextion.
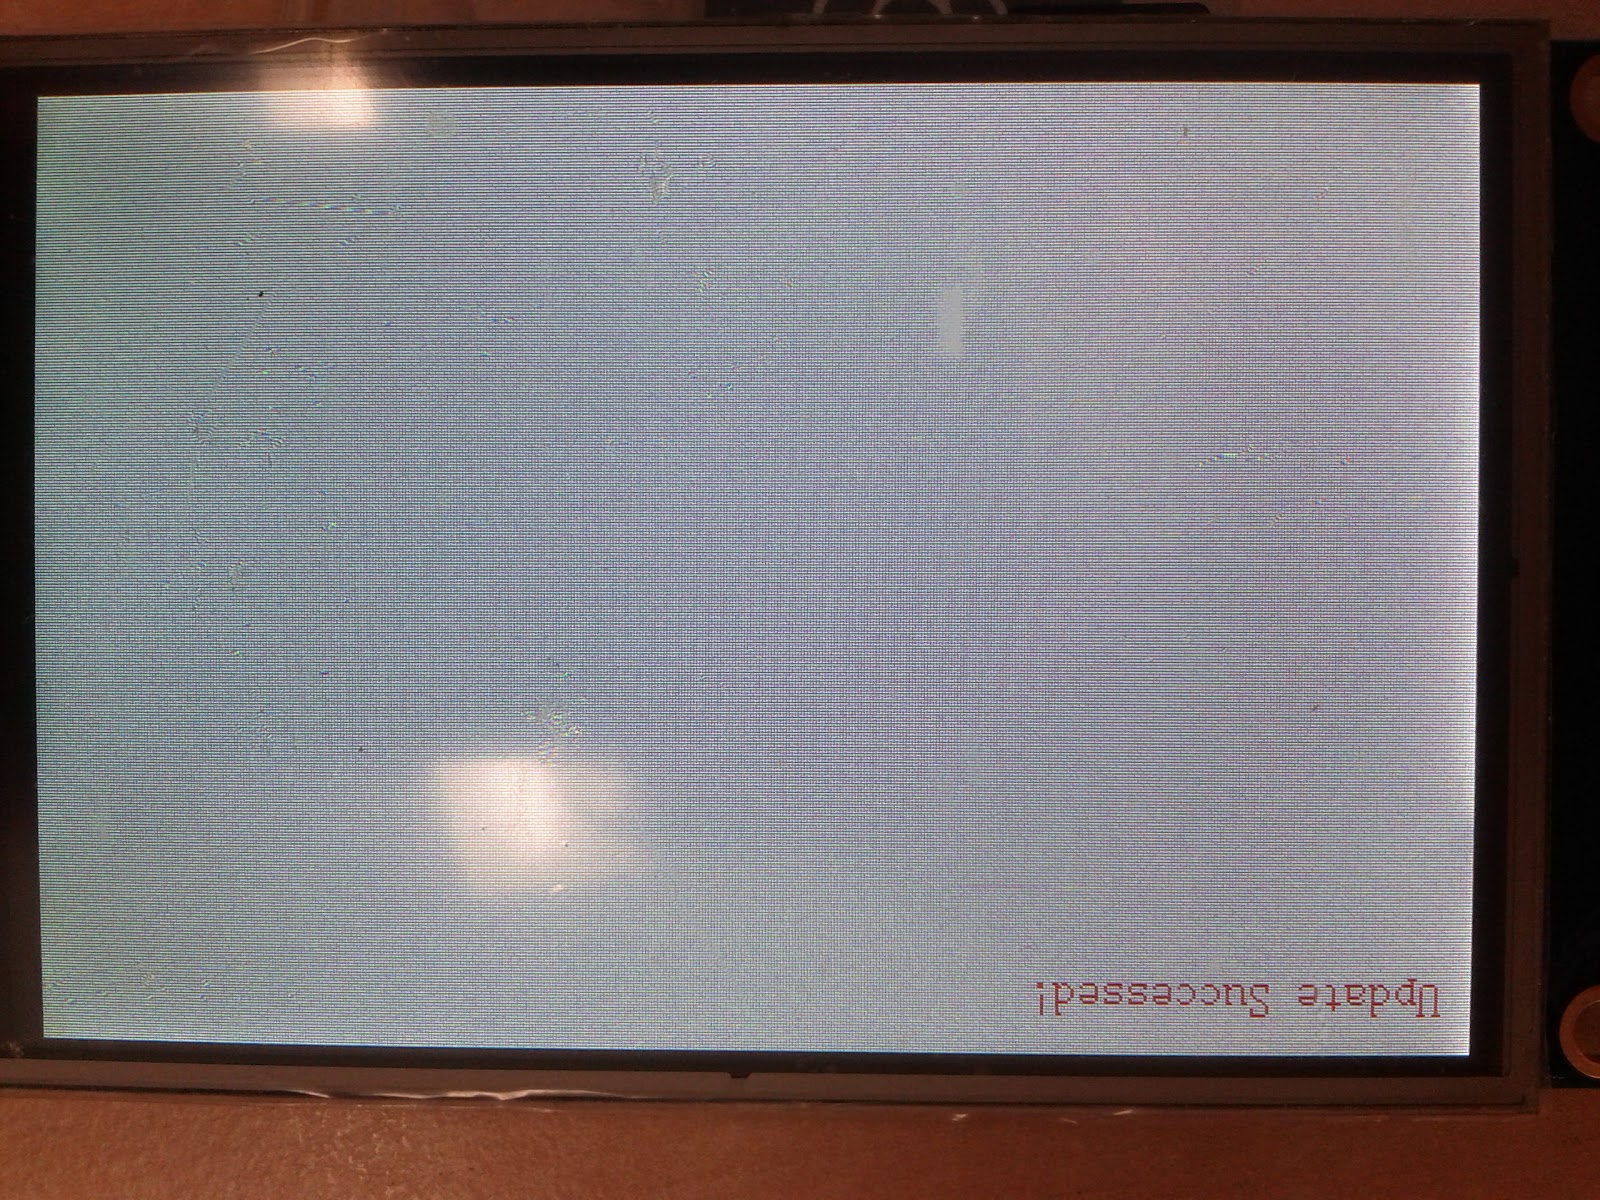
The Nextion will go into a bootloader mode and will display the file size and the progress. This takes a few moments, once completed a message “Update Successful!” will be displayed on the display. Power down the display, remove the microSD card and power up the display again. This time the GUI you have selected will be running on the display.
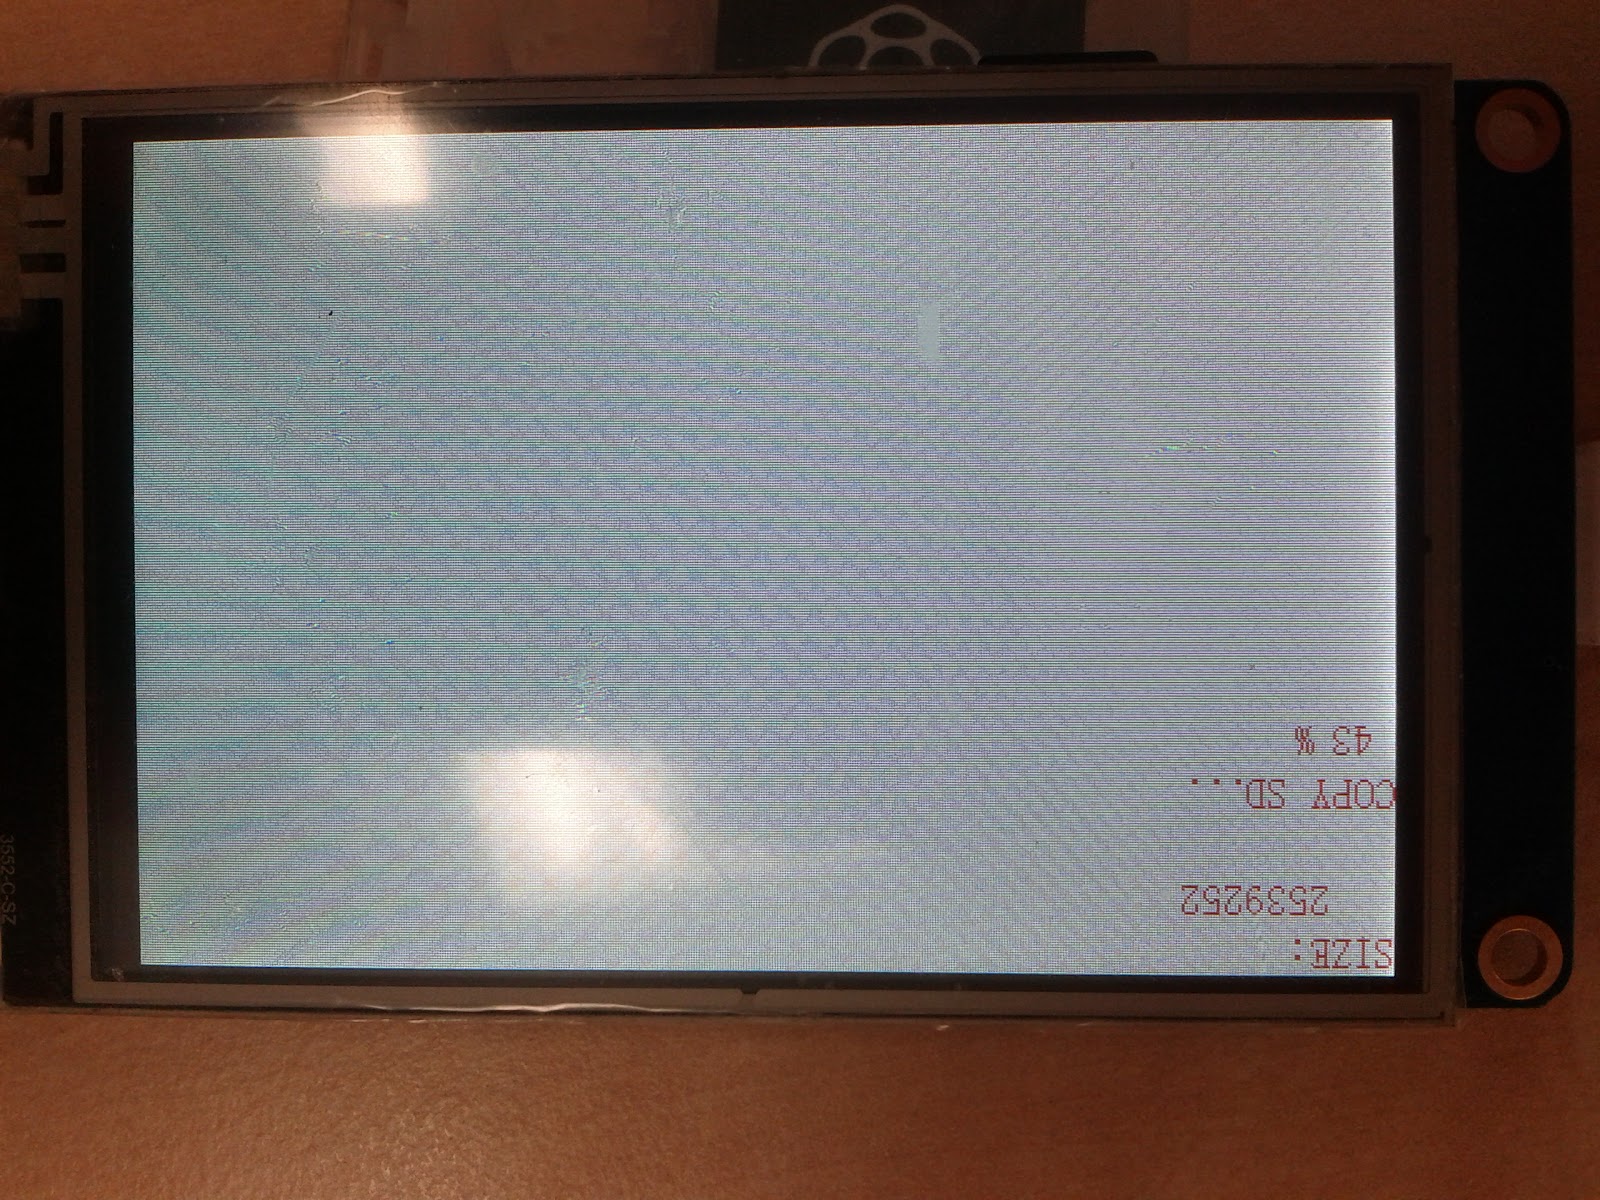
The size of the image to be uploaded along with the progress is then displayed.
GUI successfully uploaded to the Nextion display
There is a second option to upload the program to the display, this time directly from your PC, for this a USB to serial converter is needed. While ITead Studio recommends using their Foca it appears that any converter would work. A benefit of using the serial connection is the IDE allows for debugging through this connection. In the bottom window of the simulation screen there is the option to have your MCU respond to the simulation running on the PC removing the need to use a logic analyzer to debug a project. An added benefit of using the simulation is all hex sent from the simulation to the MCU is translated making understanding the control flow significantly simpler.
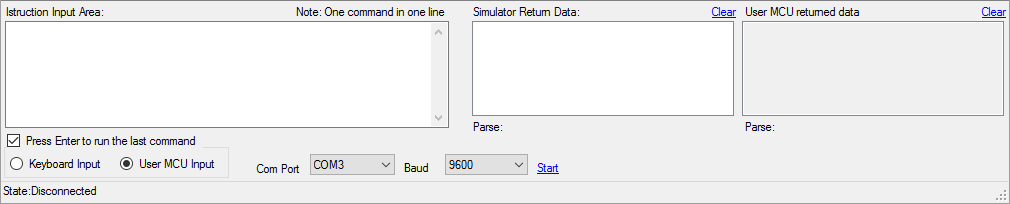
Debugging interface allowing the simulation to interact with an attached MCU or with user input commands
Pros and Cons
The Nextion is a very nice and easy to use product but every product has its pros and cons. With the previously mentioned IDE getting a GUI up and running is a simple task that can produce some really polished results. That being said there are some drawbacks to the IDE.
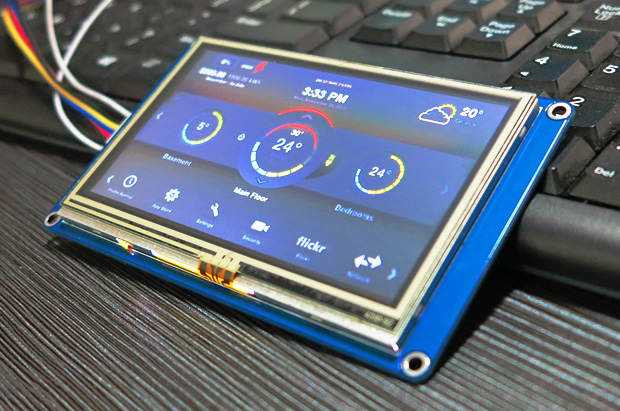
Professional looking display (Credit: )
Firstly and most importantly is the error checking. I have compiled a number of projects that have an output stating 0 Errors and 0 Warnings, yet when I go to run the program errors are found. Invalid conversions or just plain incorrect code, while this may seem trivial, having to run through all the options in a program can take unnecessary time. When all that is needed is a simple user interface that will behave as expected, such issues can be a significant drawback.
Another issue that was a constant issue was meta data. Once a project is opened the name of the project is not displayed anywhere. If someone has multiple project that are of similar nature, maybe just the screen size is different, it is not possible to know what file they are in. Another subtle issue is the difficulty in finding the screen size. While the screen size one is working on should be readily available and displayed somewhere obvious, it is not. On needs to click on setting and there they will find the screen resolution. On the positive side, if you want to change the screen size this can be done even after everything has been setup. It should be noted that the images and components will not scale if this is done.
During the process of designing my simple GUI I was unable to have a number or text display in the fields I had set up. While this was frustrating
I thought there was a bug, but it turned out not to be the case. The font size chosen was to big for the display boxes and so nothing was displayed. An error message or warning would have been preferred as it would have saved a good deal of time.
I thought there was a bug, but it turned out not to be the case. The font size chosen was to big for the display boxes and so nothing was displayed. An error message or warning would have been preferred as it would have saved a good deal of time.
Moving Forward
I had plans to use the display screen in an ongoing project to wind coils as well as a short project to measure force. The first was going to be an interface to allow for the desired number of rotations to be entered and then to display the ongoing progress. The later was going to be used to display the max applied force and graph the force over time. Unfortunately after updating the display to get back to the out of the box demo, the screen appears to have died. ITead Studio does have a recommended fix which unfortunately has not worked. I have created a ticket and will update as I get more information.
Update: ITead has responded that an attempt with a different microSD card or with the use of a USB to serial converter may remedy the issue. As I had already used a different microSD card with no luck I decided to try the USB to serial converter. I only have cheap eBay USB to serial converters and that is what I figure most hobbyists would use I thought I’d give that a go. The IDE easily found the COM port and connected and with no issues the Nextion was back up and running.
Conclusion
In conclusion ITead Studio have put a good deal thought into the Nextion and the associated IDE. The ease with which anyone can build a simple yet elegant GUI is at a new high. The connections kept simple with only providing UART and power to the user. The commands to control the Nextion are also simple and can easily be parsed should an Arduino like device not be used. The ability to have the display do most of the onboard control or even be self contained is both handy and useful in relieving a connected microcontroller from needing to constantly tend to the display.
The Nextion is a display I would recommend for the home user or DIYer. I have seen a lot of projects on line now that use this display with no reports of issues.My reported issue may be one in a large number, but until the issue is understood and resolved I would feel slightly uneasy installing it in a consumer product.
That being said, I have been asked to do some further testing on the Nextion to potentially replace the controller mentioned at the beginning of this blog. Depending on how those tests go I may change my opinion on the reliability of the display and its updatability.
Thanks for your review! Have you had any further thoughts/experience about the reliability? I'm considering using the Nextion in a low volume consumer product (which you said you would be uneasy about!). I've considered other options like 4D Systems and MikroElektronika, however due to the likely final price point, keeping component costs down is imperative...
ReplyDelete